
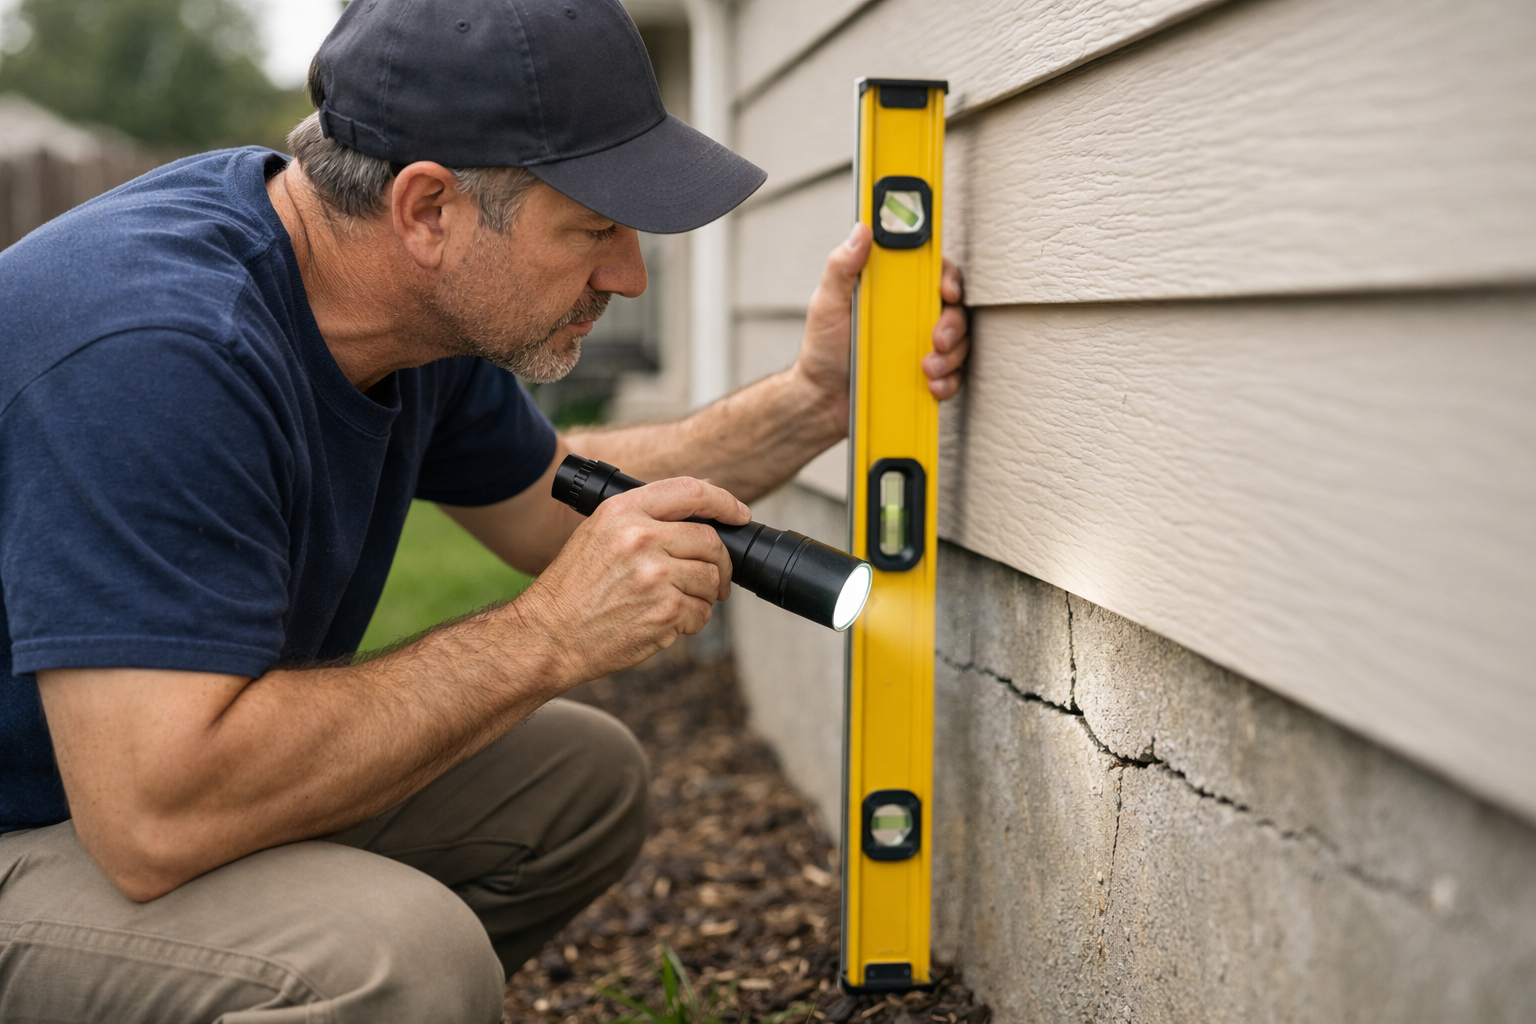
A hairline crack above a doorway sent one Ohio homeowner into a two-year repair costing $38,000. The warning signs were there months earlier. Foundation safety starts with knowing what to look for before small problems become structural emergencies.
This post walks non-experts through a hands-on foundation check. You will learn which cracks matter, how to measure movement, and when to call a specialist.
No engineering degree required — just a flashlight, a level, and about an hour of your time.
Why Foundation Safety Deserves Your Attention Now
A failing foundation rarely announces itself loudly. It shows up as a sticking door, a slanted floor, or a crack you swear was smaller last spring.
The American Society of Home Inspectors reports that foundation issues rank among the most expensive repairs a homeowner faces. Catching them early can cut costs by thousands.
Water is the usual culprit. Flooding, poor drainage, and plumbing leaks erode the soil supporting your slab or footings.
What to Gather Before You Start
You do not need specialized tools for a first-pass foundation safety review. Most items are already in your garage.
- A 4-foot level for checking floors and walls
- A flashlight for basements and crawl spaces
- A marble or golf ball to test floor slope
- Painter’s tape and a pencil to mark and date cracks
- A camera or phone to log photos over time
Set aside a dry day. Wet weather can mask drainage clues and make crawl spaces unsafe.
How to Inspect Your Foundation Step by Step
Follow this order to cover your home inside and out. Work slowly and write down what you find.
- Walk the perimeter outside. Look at exposed concrete, brick, or block for cracks wider than 1/4 inch.
- Check the grading. Soil should slope away from the house at least 6 inches over the first 10 feet.
- Inspect gutters and downspouts. Water should discharge at least 5 feet from the foundation.
- Test interior doors and windows. Ones that stick or fail to latch signal shifting.
- Roll a marble across each floor. Movement toward one wall points to settling.
- Examine the basement or crawl space. Look for damp spots, white mineral deposits, and horizontal wall cracks.
Reading Cracks the Right Way
Hairline vertical cracks in poured concrete are common and low-risk. They come from concrete curing and shrinking over the first year.
Horizontal cracks are the ones to fear. They suggest soil pressure pushing against the wall and can precede a collapse.
Stair-step cracks in block or brick mortar joints indicate uneven settling. Measure their width and photograph them with a coin for scale.
Measuring Movement Over Time
Place painter’s tape across each notable crack. Write the date and current width on the tape.
Check again after 30 and 60 days. Growth beyond 1/16 inch in two months means the movement is active, not old.
Warning Signs That Call for a Specialist
Some findings mean the DIY portion of your foundation safety check ends. Stop and bring in a structural engineer or restoration contractor.
- Horizontal cracks longer than a few feet
- Walls that bow inward more than 1 inch
- Cracks wider than 1/2 inch anywhere
- Doors and windows that jammed shut in a single season
- Standing water or persistent moisture in the crawl space
- Gaps between walls and the ceiling or floor
A structural engineer charges a flat fee for an assessment. That report gives you leverage when hiring a repair crew.
How Water Damage Connects to Foundation Problems
Most foundation failures trace back to moisture. A burst pipe, a flooded basement, or years of poor drainage soften the soil below.
After any flooding event, your foundation deserves a fresh look. Saturated soil can heave when it freezes or shrink when it dries.
This is where a home inspection paired with water mitigation matters. Drying out the structure and correcting drainage stops repeat damage.
What Restoration Crews Handle
Restoration teams do more than pump out water. They diagnose the moisture source and stabilize the affected area.
- Extracting standing water and drying framing
- Sealing cracks and applying waterproof membranes
- Installing sump pumps and French drains
- Coordinating with structural repair specialists
Using Restoration Locator to Find the Right Help
When your foundation safety check turns up trouble, matching the problem to the right pro saves money. Restoration Locator lets you filter by exactly what you need.
- Filter listings by service type such as water damage or structural drying
- Sort by location to find crews near your ZIP code
- Check reviews from past clients before you call
- Compare providers side by side on response time and scope
Start with providers who handle both water mitigation and foundation stabilization. That pairing addresses the cause and the symptom in one job.
Questions to Ask Any Provider
Before signing, get clear answers on scope and timing. A reputable crew will not dodge these.
- Are you licensed and insured for structural work?
- Will you provide a written diagnosis before repairs?
- Do you coordinate with a structural engineer?
- What warranty covers the repair?
Building a Simple Monitoring Habit
A foundation safety review is not a one-time task. Schedule a walk-around twice a year, in spring and fall.
Keep a folder of dated crack photos on your phone. Trends over months tell you far more than any single snapshot.
After heavy storms or a plumbing failure, add an extra check. Early detection is the cheapest repair you will ever make.
Key Takeaways
Foundation safety comes down to spotting cracks, tracking movement, and controlling water. A basic home inspection with a level and flashlight catches most warning signs early. When you find horizontal cracks, bowing walls, or moisture, call a specialist before the damage spreads.
Found something concerning during your check? Browse Disaster Cleanup & Restoration listings now at https://restorationlocator.com and connect with a provider near you.
Sources
- U.S. Environmental Protection Agency – Moisture Control Guidance for Buildings
- American Society of Home Inspectors – Home Inspection Resources
- FEMA – Protecting Your Home From Flood Damage