
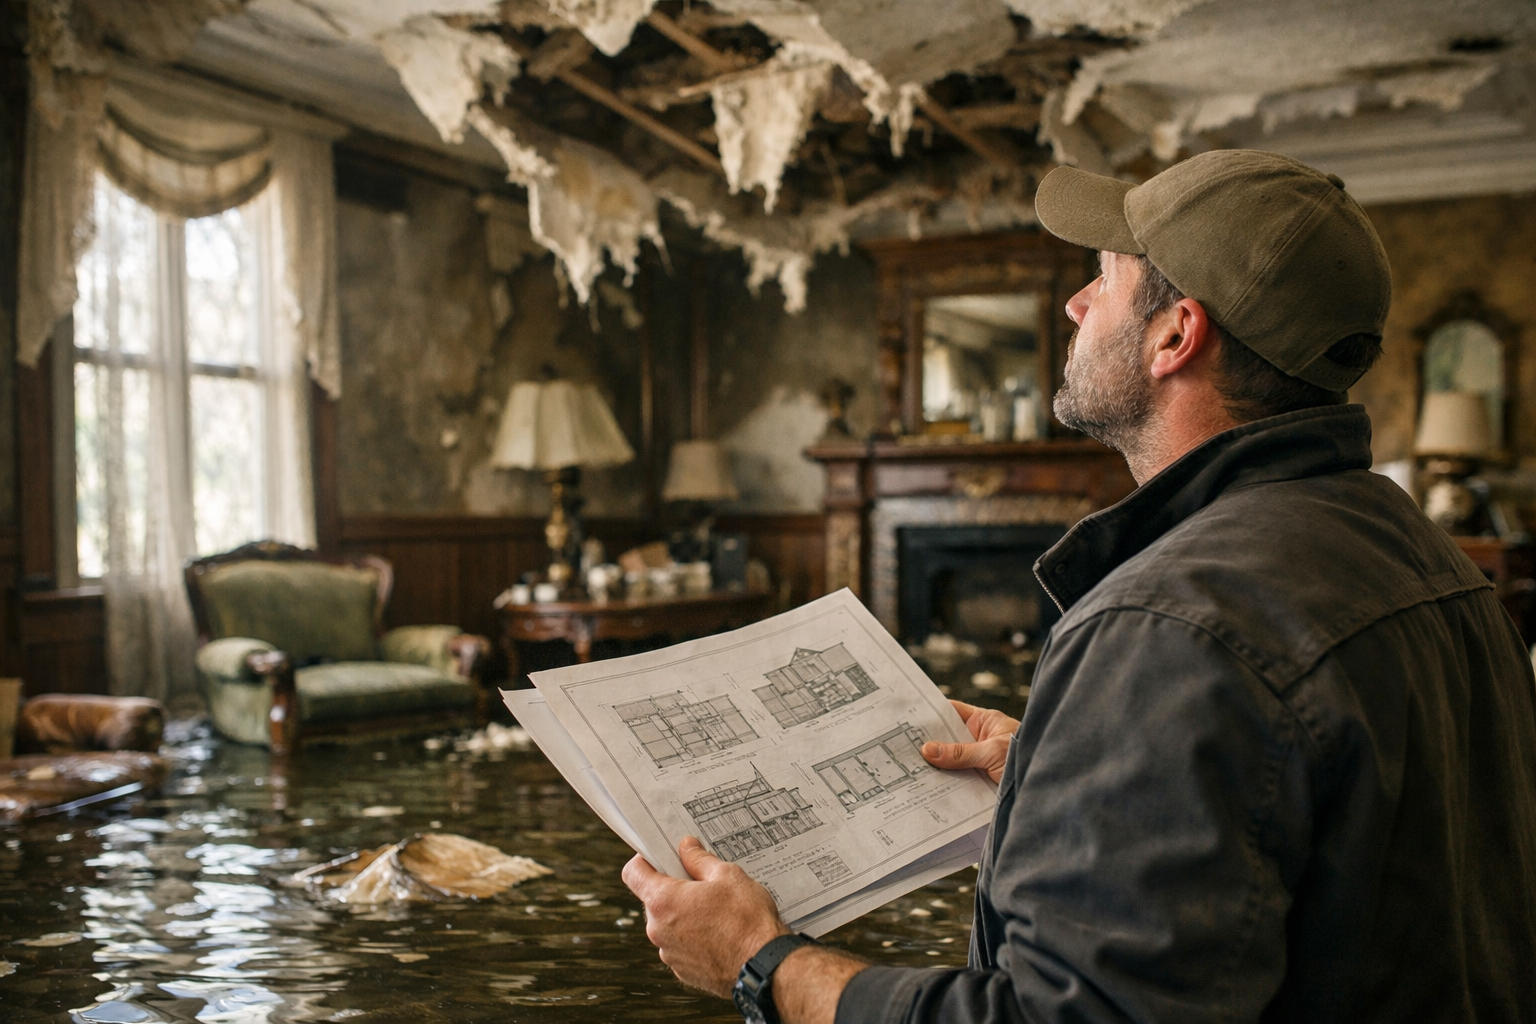
A burst pipe in a 1890s Victorian floods the parlor, and the plaster ceiling collapses within hours. The homeowner faces a decision most people never will: match a 130-year-old lime plaster recipe or lose the room’s original character forever. Historical home repairs after flooding, fire, or storms follow rules that standard restoration work ignores.
This post covers what makes older properties different, how to protect tax credits and historic status, and how to find contractors who know the difference between drywall and horsehair plaster.
Why Historical Home Repairs Follow Different Rules
Post-disaster restoration on a protected property must match original materials, methods, and appearance. A modern patch that would pass inspection on a 1990s ranch can void a historic designation on a landmarked home.
Three constraints separate older homes from newer construction:
- Material scarcity – Old-growth lumber, wavy glass, and terra cotta tile are hard to source.
- Regulatory oversight – Listed properties answer to a local historic commission or the State Historic Preservation Office.
- Skill gaps – Few crews know slate roofing, plaster keys, or mortise-and-tenon framing.
A National Register listing does not usually stop you from making repairs. It changes how you must make them if you want to keep tax benefits or grant eligibility.
The Secretary of the Interior’s Standards
These federal standards define acceptable treatment of historic buildings. They favor repair over replacement and require new work to match the old without faking age. A contractor unfamiliar with them can create problems that surface years later at resale.
First 72 Hours: Stabilize Without Causing Damage
Stop the water or secure the structure before any drying begins. Aggressive drying equipment can crack original plaster and warp antique flooring faster than the flood did.
- Document everything. Photograph damaged rooms, moldings, and finishes before anyone touches them. Insurers and preservation boards both want this record.
- Control the environment slowly. Rapid dehumidification splits old wood. Ask crews to lower moisture in stages.
- Save the pieces. Bag fallen plaster medallions, broken trim, and hardware. Salvaged originals often get reinstalled.
- Call your local commission. A quick notification early prevents violation notices later.
Standard water-damage crews sometimes rip out wet lath-and-plaster walls by default. On a historic home, that plaster may be repairable and worth keeping.
Matching Materials on Post-Disaster Restoration
Period-correct materials protect both the building and its designation. Substituting modern products can trap moisture, damage adjacent original fabric, and disqualify tax credits.
Common Substitution Traps
- Cement mortar on soft brick – Hard modern mortar cracks the surrounding historic brick as it expands.
- Gypsum board over plaster – Changes wall thickness and reveals, throwing off trim alignment.
- Vinyl windows in original openings – Almost always rejected by review boards on listed homes.
- Modern latex paint on lime plaster – Seals in moisture and causes peeling within a season.
Lime plaster, for example, breathes. It lets moisture pass rather than trapping it behind a film. Swapping it for gypsum after a flood invites mold in a home that survived a century without it.
Protecting Tax Credits and Insurance Claims
The Federal Historic Preservation Tax Incentives program offers a 20% credit on qualified rehabilitation of income-producing historic buildings. Wrong repairs can forfeit that credit even mid-project.
For your claim and credits, keep these records organized:
- Pre-damage photos and any existing historic survey documentation.
- Written scope showing repair-first intent, not wholesale replacement.
- Receipts identifying period-appropriate materials by type.
- Correspondence with your State Historic Preservation Office.
Insurance adjusters may quote replacement costs based on modern materials. A slate roof or copper gutter costs far more than asphalt shingle. Get a preservation-literate estimate before accepting a settlement figure.
How to Find Contractors for Historical Home Repairs
Look for crews with documented preservation project history, not general remodelers who occasionally touch old houses. The wrong hire can cause damage that costs more to reverse than the original disaster.
Questions That Separate Specialists From Generalists
- Have you worked on National Register or locally listed properties?
- Can you mix and apply traditional lime mortar or plaster?
- Are you familiar with the Secretary of the Interior’s Standards?
- Do you have references from a historic commission or preservation architect?
- Can you source salvaged or reproduction period materials?
A vague answer to the second or third question is a warning sign. Real preservation crews talk about material specifics without hesitation.
Using Restoration Locator to Narrow Your Search
On Restoration Locator, use the directory to shorten your shortlist:
- Sort by location to find crews who know regional building styles and local commission rules.
- Check reviews for mentions of older homes, plaster work, or preservation projects.
- Filter listings by disaster type so water, fire, or storm specialists surface first.
- Read provider profiles for stated preservation or restoration credentials.
Cross-reference directory candidates with your State Historic Preservation Office, which keeps informal lists of contractors familiar with review requirements.
Coordinating the Review and Approval Timeline
Emergency stabilization usually proceeds without prior approval, but permanent repairs on listed homes need sign-off. Building this into your schedule prevents costly rework.
A workable sequence looks like this:
- Emergency stabilization and documentation.
- Notify your local historic commission of the damage.
- Submit a repair scope with material specifications.
- Receive a certificate of appropriateness or equivalent approval.
- Begin permanent repairs with an approved contractor.
Skipping the approval step to move faster is the most common mistake. Rework ordered by a commission costs far more than the wait.
Key Takeaways
Historical home repairs demand material matching, regulatory approval, and crews trained in traditional methods. Document damage immediately, dry slowly, and protect your tax credits with careful record-keeping. Hire preservation-literate contractors and coordinate with your historic commission before permanent work begins.
Start your search on Restoration Locator to find Disaster Cleanup & Restoration providers who understand older homes. Browse listings, compare reviews, and filter by location and disaster type now.
Sources
- National Park Service – The Secretary of the Interior’s Standards for the Treatment of Historic Properties
- National Park Service – Federal Historic Preservation Tax Incentives
- National Park Service – Preservation Brief 21: Repairing Historic Flat Plaster
- FEMA – Historic Properties and Cultural Resources