
Water expands about 9% when it freezes, and that pressure can split a copper pipe wide open. Most burst pipes happen when temperatures drop below 20°F, especially in unheated spaces like crawl spaces, attics, and exterior walls. This post shows you exact techniques to prevent frozen pipes during cold weather, not vague reminders to “stay warm.”
You will learn which pipes freeze first, the drip rate that keeps water moving, and the insulation choices that matter. Each step uses concrete numbers you can act on tonight.
Why Pipes Freeze: The Physics You Need to Know
Pipes freeze when standing water inside them drops to 32°F and expands against a sealed section. The blockage itself rarely causes the break. Pressure builds between the ice plug and a closed faucet, and that trapped pressure ruptures the pipe downstream.
This matters for your defense plan. Keeping water moving and keeping pressure released both stop the rupture, even if a small ice plug forms.
Which Pipes Freeze First
Not every pipe carries the same risk. The ones that fail first share three traits: no insulation, exposure to outside air, and little or no water flow.
- Outdoor hose bibs and sprinkler lines — direct exposure, usually first to go
- Pipes in unheated garages — ambient temps track outdoor air closely
- Crawl space and attic runs — cold air pools, insulation gaps common
- Pipes along exterior walls — thin wall cavities, minimal heat transfer
- Vacation home plumbing — no heat running, nobody noticing a drip
How to Prevent Frozen Pipes: Step by Step
Follow this order when a cold snap approaches. The first steps take minutes and block the most common failures.
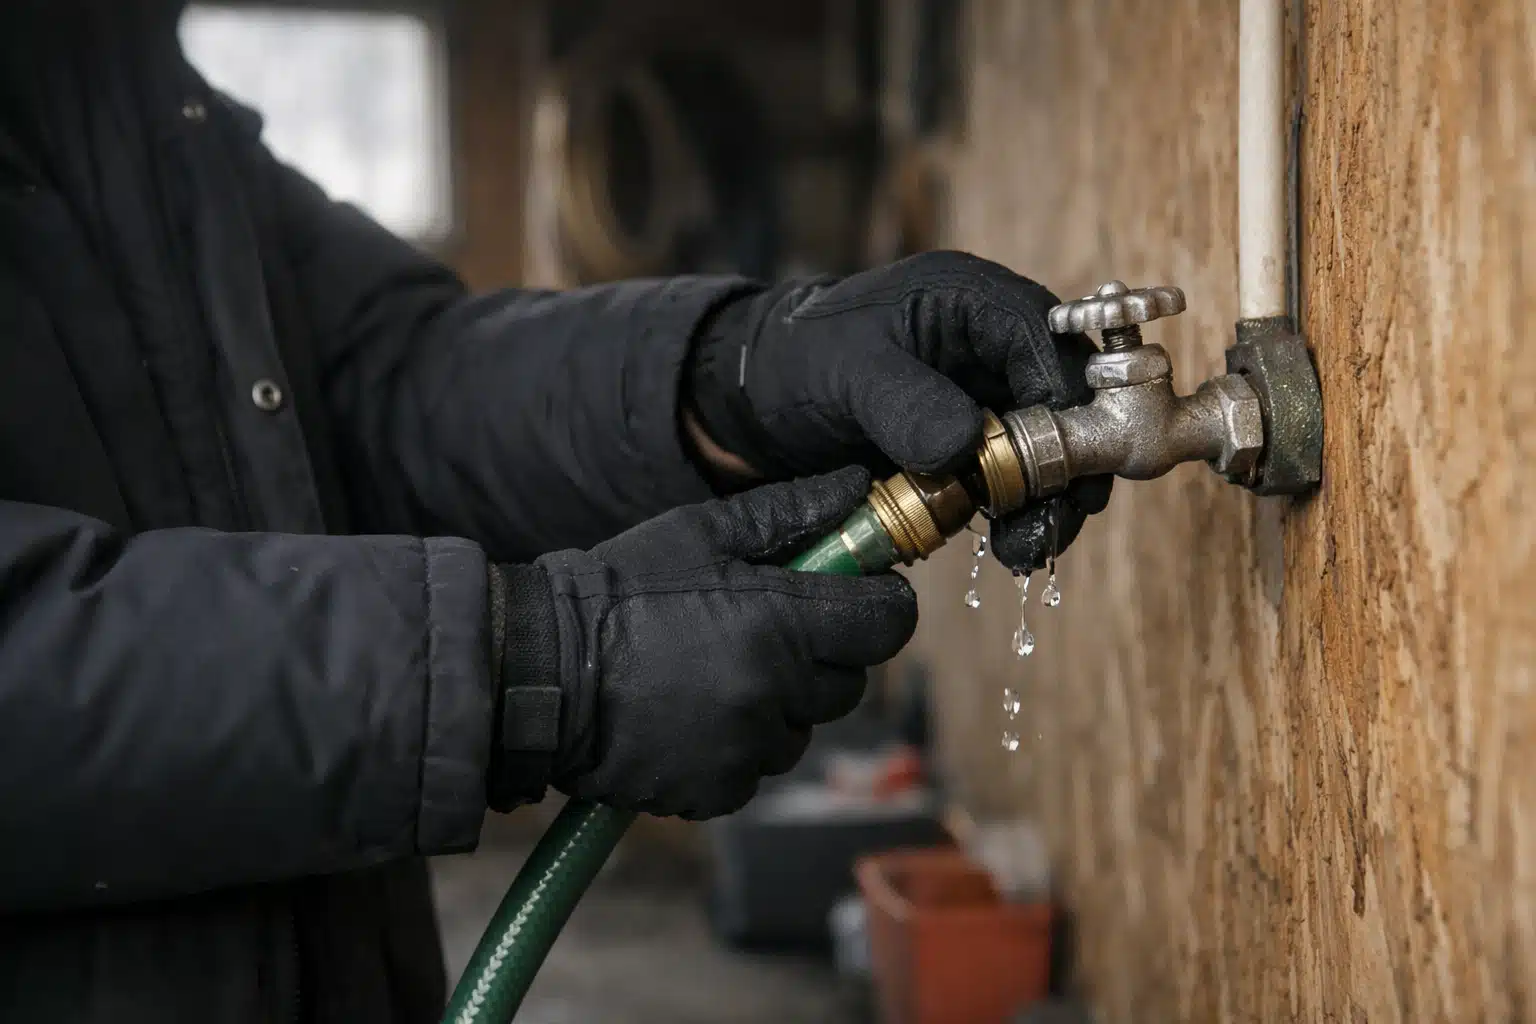
- Disconnect outdoor hoses. A connected hose traps water in the spigot, freezing the valve and the pipe behind it. Drain the hose and store it.
- Shut off and drain exterior spigots. Find the interior shutoff valve for each outdoor faucet. Close it, then open the outside spigot to drain the line.
- Open a slow drip on vulnerable faucets. Aim for a stream about the width of a pencil lead. Moving water resists freezing and relieves pressure.
- Open cabinet doors under sinks. Kitchen and bathroom sinks on exterior walls stay warmer when room heat reaches the pipes.
- Keep the thermostat steady. Hold it at or above 55°F day and night, even when you sleep or leave.
- Seal air leaks near pipes. Use caulk or foam around rim joists, dryer vents, and cable penetrations that let cold air hit plumbing.
The Drip Rate That Works
A common mistake is dripping cold water only. Run both hot and cold at a trickle if the faucet serves both lines. A pencil-lead stream wastes roughly 1 gallon per hour, a small cost against a $5,000 burst-pipe repair.
Insulation Techniques for Cold Weather Plumbing
Pipe insulation slows heat loss, buying hours before water reaches freezing. For cold weather plumbing in exposed areas, match the material to the risk level.
Foam Sleeves vs. Heat Tape
- Foam pipe sleeves: Cheap, DIY-friendly, right for moderate exposure. Use 3/8-inch wall thickness for cold climates and seal seams with tape.
- Electric heat tape: For pipes that freeze repeatedly despite insulation. Choose a UL-listed model with a built-in thermostat and never overlap the cable on itself.
In a crawl space I have seen fail twice in one winter, the fix combined heat tape on the problem run with foam sleeves on every nearby pipe. The repeat freezing stopped.
Don’t Forget the Air Gaps
Insulating the pipe but ignoring a 2-inch gap in the rim joist defeats the effort. Cold air flows to the pipe surface and wins. Seal the cavity first, then insulate the pipe.
Protecting an Empty or Vacation Home
Vacant homes rank among the worst burst-pipe scenarios. Nobody hears the pipe fail, and water runs for days. One slab-level burst in an unoccupied house can release thousands of gallons before discovery.
If you leave for more than a weekend during freezing weather, take stronger measures:
- Shut off the main water supply valve.
- Open the lowest faucet in the house to drain remaining water.
- Keep heat set no lower than 55°F.
- Ask a neighbor to check the house daily during hard freezes.
For longer absences, draining the system entirely removes the risk. Flush toilets to empty tanks and add non-toxic plumbing antifreeze to traps.
What to Do If a Pipe Already Froze
A frozen pipe shows up as no water or a weak trickle from a faucet during cold weather. Act before it bursts.
- Open the faucet fed by the frozen pipe. This releases pressure and gives melting ice somewhere to go.
- Apply gentle heat with a hair dryer, heating pad, or towels soaked in hot water. Start near the faucet and work toward the cold section.
- Never use an open flame. Blowtorches crack pipes and start house fires.
- Find the main shutoff and know how to close it. If the pipe bursts, shutting water fast limits the damage.
If you cannot reach the frozen section, or it has already split, water damage starts within minutes of a thaw. Fast cleanup prevents mold and structural rot.
When to Call a Restoration Provider
A burst pipe floods flooring, drywall, and insulation in a matter of hours. Standing water behind walls feeds mold growth within 24 to 48 hours. At that point you need water extraction and drying equipment, not a mop.
On Restoration Locator, you can find local help without guesswork:
- Sort by location to reach a provider who can arrive quickly during a cold snap
- Check reviews from homeowners who dealt with winter water damage
- Filter listings for water damage and burst-pipe cleanup specialists
Key Takeaways
Pipes burst from trapped pressure, not just ice, so dripping faucets and open cabinets stop most failures. Target the high-risk spots first: outdoor spigots, garages, crawl spaces, and exterior walls. Insulate pipes and seal the air gaps feeding them cold.
If a pipe bursts despite your effort, speed decides how much damage you face. Browse Disaster Cleanup & Restoration listings now at https://restorationlocator.com and line up a local provider before the next freeze.