
An ice dam can push 30 gallons of meltwater under your shingles in a single thaw cycle. That water does not evaporate. It soaks insulation, stains ceilings, and rots roof decking long after the icicles melt.
This post covers ice dam prevention with concrete fixes you can act on before the next snowstorm. You will learn why ice dams form, which repairs stop them, and how to find help when damage already started.
What Causes Ice Dams on a Roof
An ice dam is a ridge of ice that forms at the edge of a roof. It blocks melting snow from draining off the eaves.
The mechanism is heat loss. Warm air escapes your living space into the attic, then warms the underside of the roof deck.
Snow on the warm upper roof melts. The water runs down to the cold overhang, which hangs over open air and stays below freezing. There it refreezes into a growing dam of ice.
Behind that dam, trapped water backs up under the shingles. Asphalt shingles shed water. They do not seal against standing water, which is why backups leak indoors.
The 30-Degree Rule That Predicts Ice Dams
Ice dams form when the upper roof surface sits above 32°F and the eave sits below 32°F. That split surface temperature is the real trigger.
Keep the entire roof deck within a few degrees of outdoor air, and the dam cannot grow. Most fixes below target that single goal: a uniformly cold roof.
Ice Dam Prevention Strategies That Work
The most effective fixes happen inside the attic, not on the roof. Three attic conditions control whether dams form: air leakage, insulation depth, and ventilation.
1. Seal Attic Air Leaks First
Air sealing stops the warm air that melts rooftop snow. This step beats adding insulation alone.
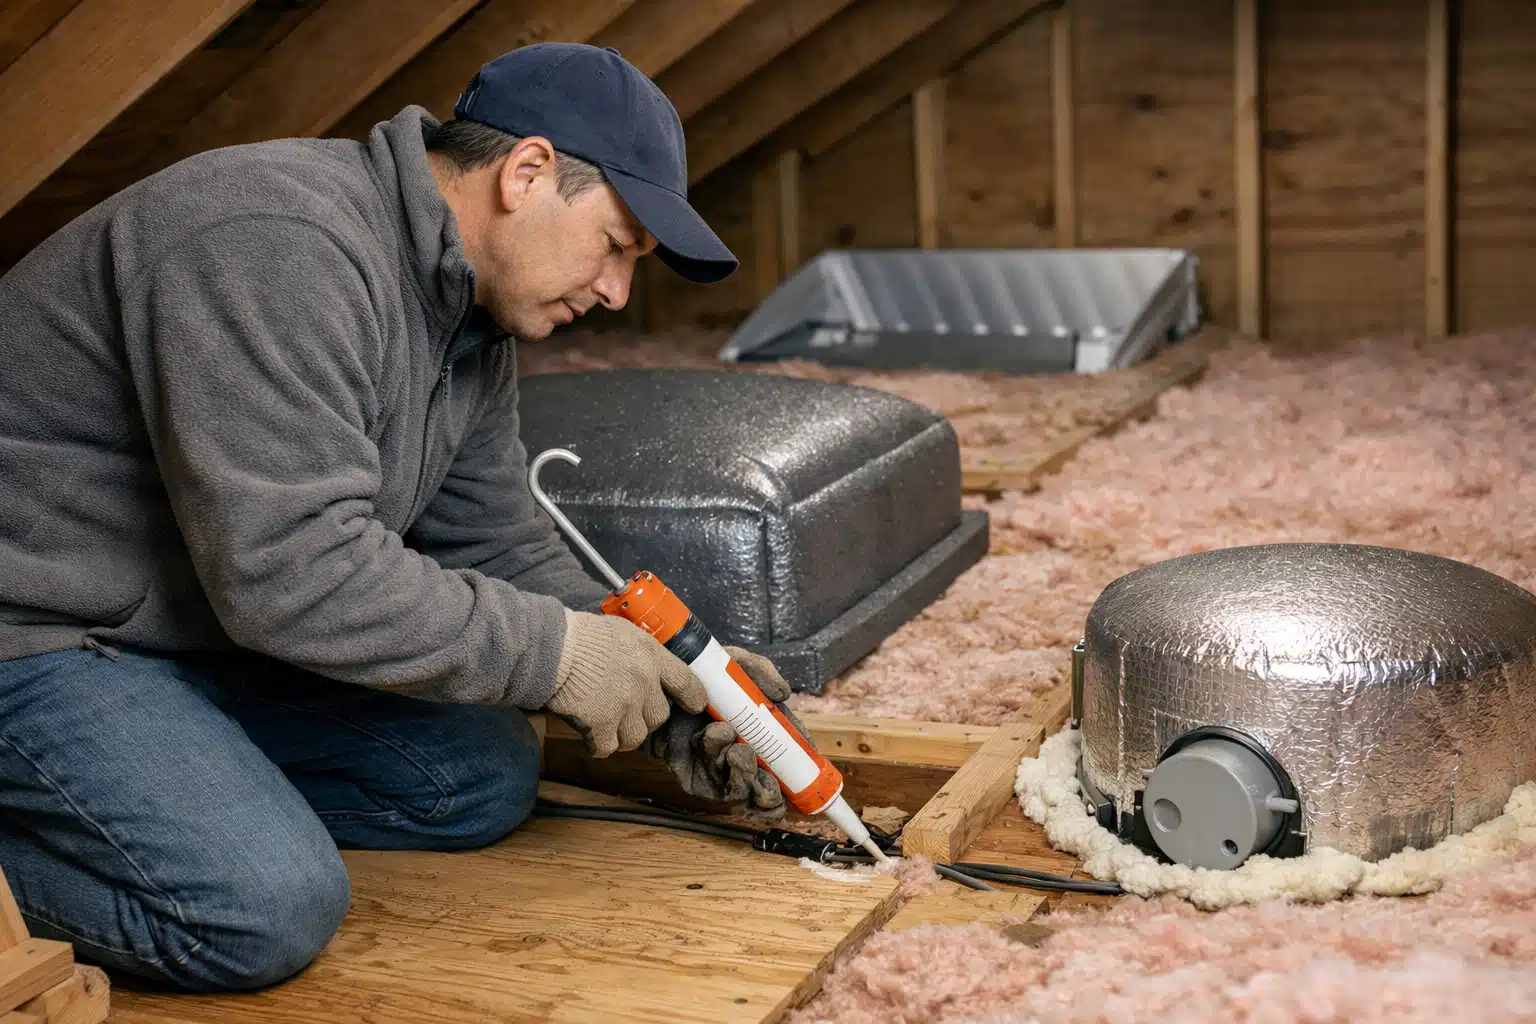
- Recessed can lights leak heat straight up. Replace them with airtight IC-rated fixtures or add sealed covers.
- The attic hatch or pull-down stairs leak badly. Add weatherstripping and a rigid foam cover box.
- Plumbing stacks and wiring holes let warm air rise. Fill gaps with fire-rated caulk or spray foam.
- Bathroom and kitchen exhaust fans must vent outside, never into the attic.
A blower-door test finds hidden leaks you cannot see. Many energy auditors run this test for under $400.
2. Add Insulation to R-49 or Higher
The U.S. Department of Energy recommends R-49 to R-60 attic insulation for cold climates. Many older homes sit at R-19 or less.
Blown-in cellulose or fiberglass raises depth fast. Watch the eaves, where insulation gets crushed thin and lets heat escape at the exact spot dams form.
Install baffles at each rafter bay. They hold insulation back from the roof deck and keep soffit vents open.
3. Balance Attic Ventilation
Ventilation flushes warm air out before it melts snow. The system needs intake at the soffits and exhaust at the ridge.
A common failure is blocked soffit vents. Insulation stuffed into the eaves chokes airflow and defeats the ridge vent above.
Aim for one square foot of net free vent area per 300 square feet of attic floor. Split that evenly between intake and exhaust.
Roofing Upgrades for Winter Roof Protection
Attic fixes stop most dams. Roofing upgrades add a second defense for the water that still gets past.
Install an Ice and Water Shield Membrane
Ice and water shield is a self-adhering waterproof membrane. It goes under the shingles along the eaves and seals around nail penetrations.
Most codes require it to extend at least 24 inches past the interior wall line. On low-slope or high-snow roofs, extend it further up the deck.
This membrane is the strongest form of winter roof protection at the eaves. It is cheap insurance installed during any reroof.
Metal Drip Edge and Clean Gutters
A metal drip edge helps water shed off the roof instead of wicking back. Clogged gutters hold ice that seeds a dam.
Clean gutters every fall. Downspout extensions move meltwater away from the foundation during thaws.
Emergency Steps During an Active Ice Dam
When a dam already formed and water is leaking in, act fast to limit interior damage.
- Clear snow from the roof edge with a roof rake from the ground. Pull snow down the first three to four feet of eave.
- Make a channel through the dam so trapped water drains. Fill a nylon stocking with calcium chloride and lay it across the dam vertically.
- Never use a hammer or metal shovel. Chipping ice cracks shingles and voids warranties.
- Catch interior leaks with buckets and move belongings. Poke a small hole in a bulging, water-filled ceiling to relieve pressure.
- Document everything with photos for an insurance claim.
Avoid walking on an icy roof. Steam removal by a trained crew is the safest way to clear a heavy dam.
When Water Has Already Gotten In
Ice dam leaks cause damage that hides behind drywall and under insulation. Wet insulation loses R-value and stays damp for weeks.
Mold can start growing within 24 to 48 hours of water intrusion. Trapped moisture in wall cavities feeds it quietly.
Signs you need a restoration crew:
- Brown water stains spreading across ceilings or around light fixtures
- Peeling paint or sagging drywall near exterior walls
- A musty smell near the attic or top-floor rooms
- Damp or matted attic insulation at the eaves
Water extraction, structural drying, and mold remediation each call for different equipment. A qualified crew uses moisture meters and commercial dehumidifiers to dry cavities you cannot reach.
How to Find Ice Dam and Water Damage Help
Restoration Locator lists Disaster Cleanup & Restoration providers by location and specialty. Use the directory to match a crew to your exact problem.
Tips to narrow your search:
- Filter listings by location to find crews that work in snow-prone regions and arrive fast.
- Check reviews for mentions of ice dam leaks, attic drying, and insurance coordination.
- Sort by service type to separate water extraction specialists from reroofing contractors.
- Confirm emergency availability before a storm, since active leaks cannot wait days.
Line up a provider before winter peaks. Crews book solid after the first major thaw hits a region at once.
Key Takeaways
Ice dams form from a warm upper roof and a frozen eave, so a uniformly cold roof stops them. Air sealing, R-49 insulation, and balanced ventilation fix the root cause. An ice and water shield and clean gutters add backup protection.
If meltwater already reached your ceilings, move fast before mold sets in. Browse Disaster Cleanup & Restoration listings now at https://restorationlocator.com and find a crew near you.
Sources
- U.S. Department of Energy – Insulation
- U.S. Environmental Protection Agency – Mold Cleanup in Your Home
- University of Minnesota Extension – Dealing with and Preventing Ice Dams