
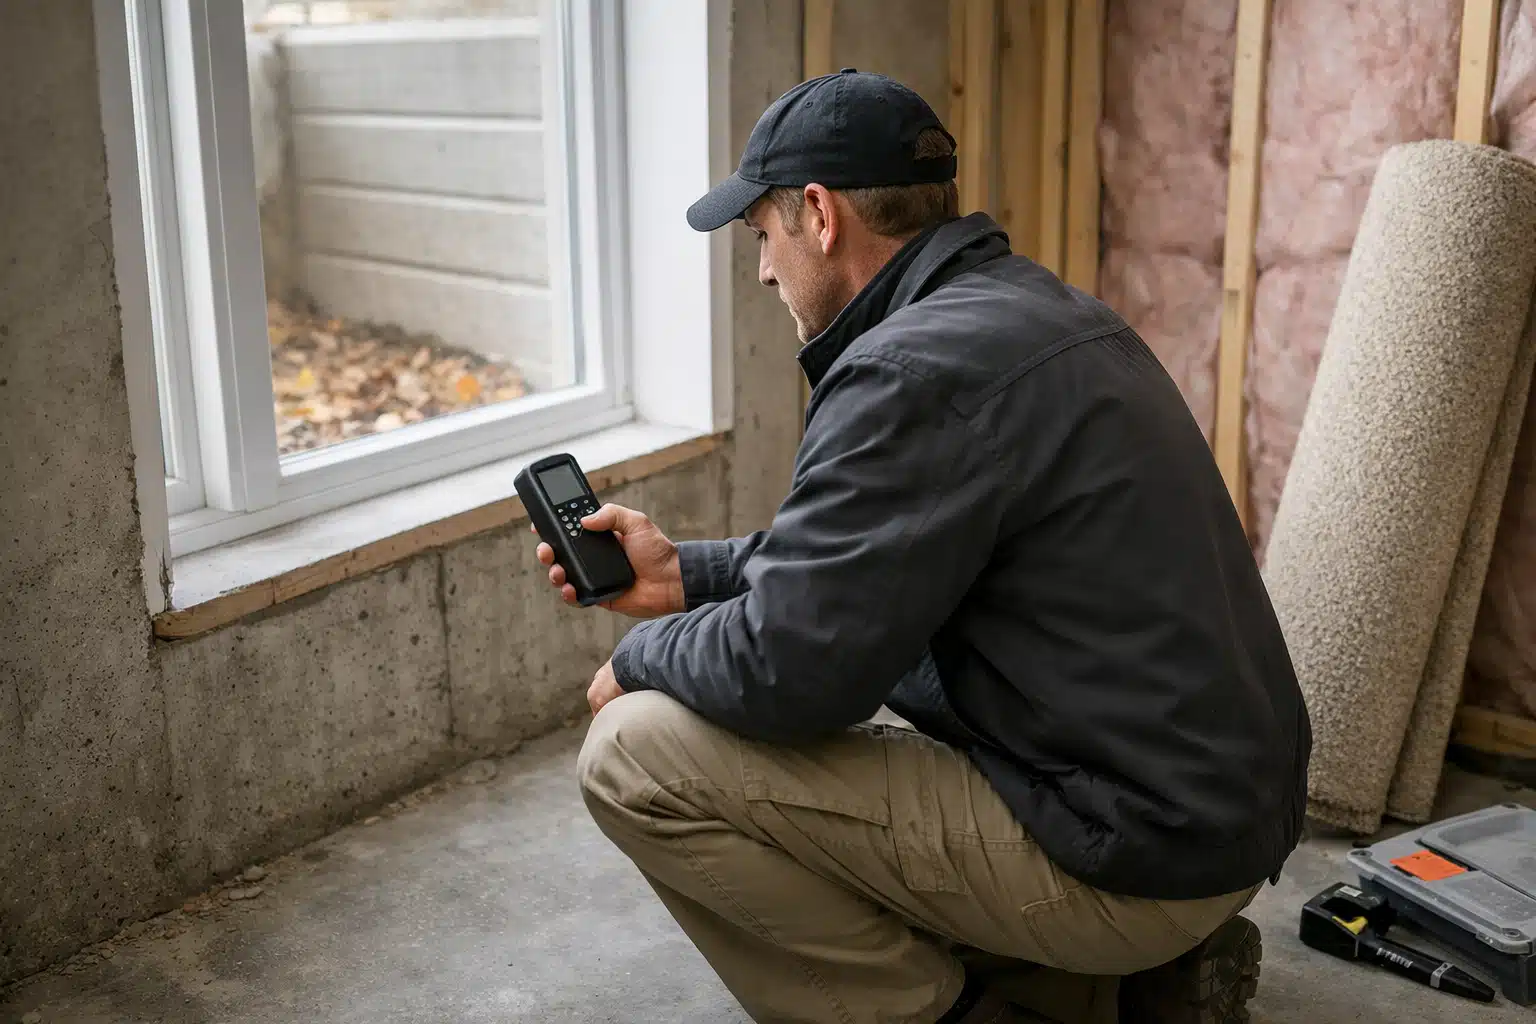
Fall renovations change how air moves inside your house. New insulation, sealed windows, and basement finishing all trap radon that once escaped. That makes radon testing fall renovations a step worth scheduling before the first cold snap.
Below, you learn why autumn is the right season to test, how renovation work disturbs radon pathways, and what to do if levels come back high. You also learn how to find qualified mitigation help when results demand action.
Why Radon Testing Fall Renovations Belong Together
Radon is a colorless, odorless radioactive gas from decaying uranium in soil. It seeps into homes through foundation cracks, sump pits, and gaps around pipes. The EPA links long-term radon exposure to lung cancer.
Fall matters because two things happen at once. You start sealing your home for winter, and you may be cutting into the foundation during renovations. Both actions move radon in ways summer air never does.
The stack effect drives this. As indoor air warms and rises, it pulls soil gas up through the lowest levels of your house. Cooler weather makes this pull stronger, so radon readings climb in fall and winter.
Renovations That Disturb Radon Pathways
Certain projects open new routes for radon to enter. Testing before and after these jobs catches problems early.
- Basement finishing — Framing over bare concrete hides cracks that leak gas.
- New flooring over slab — Removing old tile can expose or widen foundation gaps.
- Sump pump installation — Open pits connect directly to soil gas unless sealed.
- HVAC changes — New ductwork alters air pressure and draw patterns.
- Air sealing and insulation — Tighter homes hold radon that once vented naturally.
A Real Scenario
Say a homeowner in the upper Midwest finishes a basement in October. They add carpet, drywall, and a new egress window. The room feels great until a winter test shows 6.8 pCi/L.
The EPA action level is 4.0 pCi/L. Had they tested before finishing, they could have installed a sub-slab pipe under the new floor cheaply. Now the fix means cutting into fresh concrete.
When to Test During a Fall Project
Test at two points to catch changes your work creates. This two-stage approach gives you a clear before-and-after picture.
- Before demolition begins. Run a short-term test in the lowest lived-in level. This sets your baseline.
- After the work is done. Retest once the space is sealed and finished. Compare the numbers.
Short-term tests run 2 to 7 days. Keep windows and doors shut during the test, which matches how you live in colder months. Open-window summer habits mask the real reading.
Picking a Test Method
Two paths exist for measuring radon at home.
- DIY test kits — Charcoal canisters or alpha-track detectors cost $15 to $40. You mail them to a lab for results.
- Continuous radon monitors — Electronic units give hourly readings and track trends over a renovation.
For a project spanning weeks, a continuous monitor shows how each phase shifts your levels. That data helps a contractor size mitigation correctly.
Radon and Home Safety Renovations
Radon control fits into any plan for home safety renovations. The best time to add protection is while walls and floors are already open. Retrofitting later costs more and disrupts finished rooms.
Builders call this radon-resistant new construction, and the same logic applies to remodels. Add a vent pipe and sealed membrane while the slab is exposed. You convert a passive setup to an active fan later if testing demands it.
Low-Cost Steps to Fold Into Your Project
- Seal visible foundation cracks with polyurethane caulk.
- Cap the sump pit with an airtight lid and gasket.
- Run a 3- or 4-inch PVC pipe from under the slab before pouring new concrete.
- Caulk around plumbing and wiring penetrations in the basement.
None of these replace a tested mitigation system. They cut entry points and make any later fan work more effective.
What High Radon Results Mean for Your Timeline
A reading at or above 4.0 pCi/L calls for action before you close up walls. Mitigation after finishing means drilling and patching, which adds days and dust.
A standard active system uses sub-slab depressurization. A fan pulls gas from beneath the foundation and vents it above the roofline. Installed cost runs $800 to $2,500 depending on layout.
Mid-renovation installs often land at the low end. The crew reaches bare slab and open framing without demolition. That saves both labor and cleanup.
Confirm the Fix Worked
Retest 24 hours after the fan runs, then again after 30 days. A working system drops most homes below 2.0 pCi/L. Keep the post-install report with your home records.
Finding Radon and Restoration Help on Restoration Locator
Many cleanup and restoration companies handle radon mitigation alongside water and mold work. If your fall project uncovered foundation moisture or a wet basement, one provider may address both.
On Restoration Locator, use the directory to shorten your search.
- Filter listings by location to find crews that work your county.
- Check reviews for notes on radon and basement waterproofing jobs.
- Sort by service type to match mitigation with moisture control.
- Compare providers before your renovation reaches the sealing stage.
Booking early matters in fall. Demand climbs as homeowners test ahead of winter, and schedules fill fast through November.
Questions to Ask a Provider
- Are your technicians certified by NRPP or NRSB?
- Can you install a vent pipe before my slab is covered?
- Do you provide a post-mitigation test report?
- What radon reduction do you guarantee?
Key Takeaways
Fall tightens your home and raises radon readings, which makes testing during renovations the smart move. Test before demolition and after finishing, and fold low-cost prevention into open walls and floors. If levels pass 4.0 pCi/L, install mitigation before sealing the space to save money and mess.
Ready to match your project with qualified help? Browse Disaster Cleanup & Restoration listings now at https://restorationlocator.com and start your search today.