
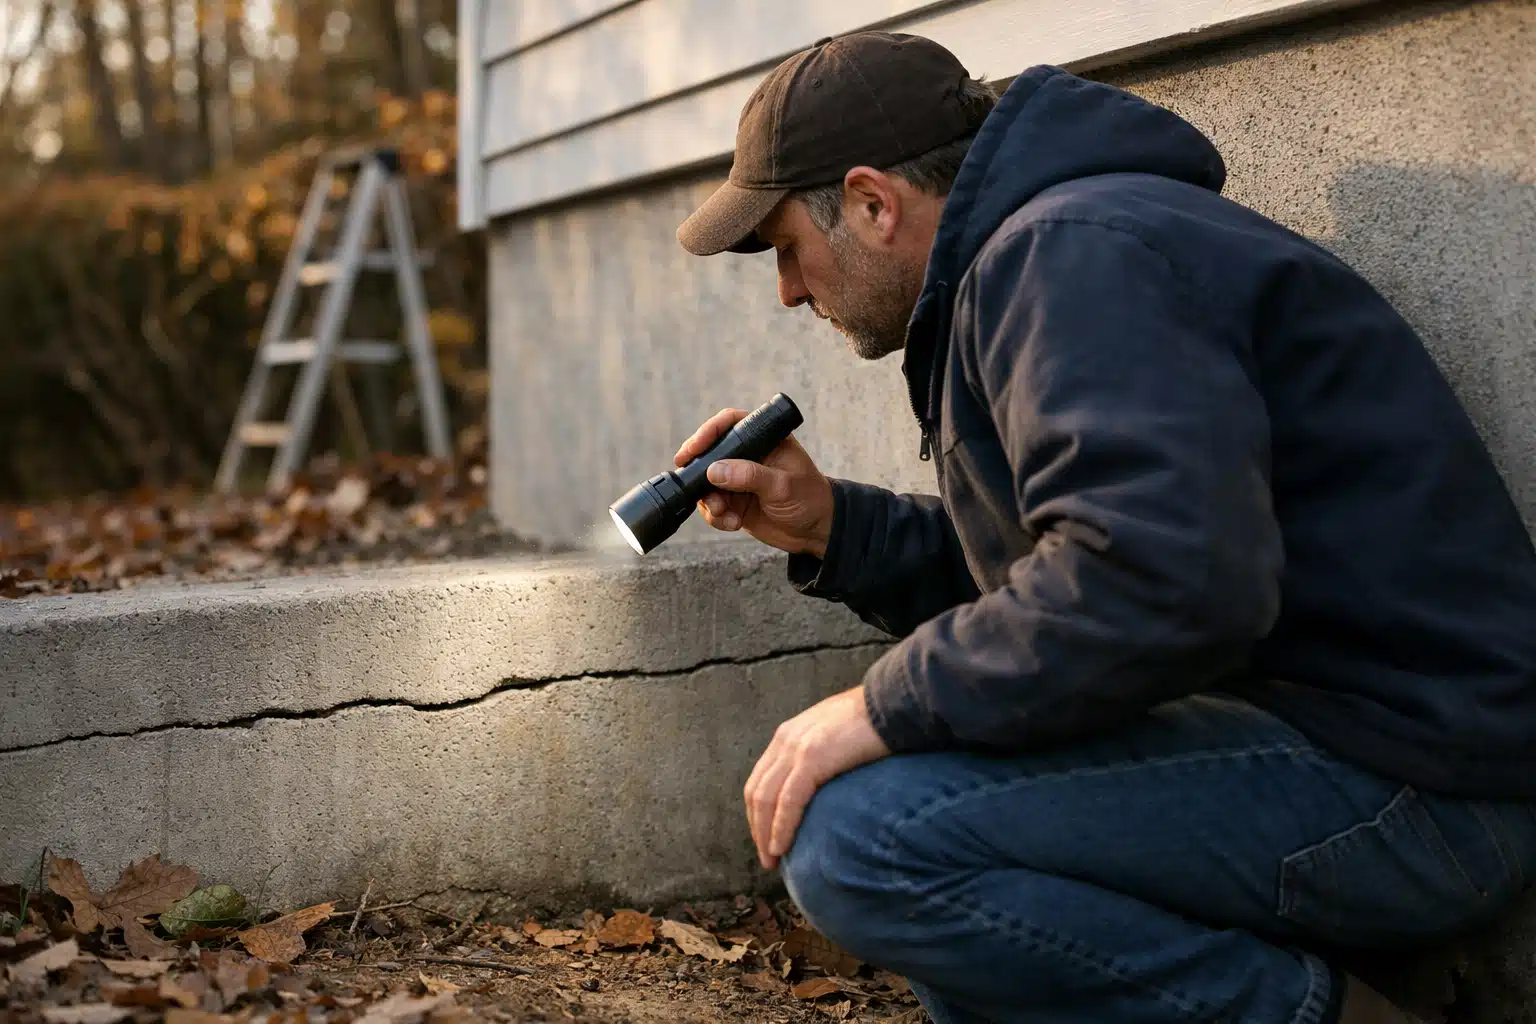
A hairline crack you ignore in October can become a half-inch gap by March. Water seeps in, freezes, expands, and pries the concrete apart a little more with each cold snap. That is why foundation crack repair matters most in the weeks before the first hard freeze.
This post shows you how to identify which cracks threaten your home, how to fix the minor ones yourself, and when to call a specialist. The focus is one thing most articles skip: beating the freeze-thaw clock.
Why Winter Turns Small Cracks Into Big Problems
The freeze-thaw cycle is the repeated freezing and thawing of water trapped inside concrete cracks and surrounding soil. Water expands roughly 9% when it freezes. That expansion acts like a slow wedge inside your foundation.
In northern climates, soil around a foundation can go through 40 to 50 freeze-thaw cycles in a single season. Each cycle pushes against the concrete and the footing. A crack that stays dry survives. A crack full of water does not.
This is the heart of winter foundation maintenance: stop water from entering cracks before the temperature drops below freezing.
How to Identify Foundation Cracks That Matter
Not every crack signals trouble. The type, width, and direction tell you how worried to be. Walk your foundation inside and out with a flashlight and a tape measure.
Cracks You Can Usually Monitor
- Hairline vertical cracks under 1/8 inch wide. Common in poured concrete as it cures.
- Short diagonal cracks near window and door corners, if stable and narrow.
- Surface shrinkage cracks that look like a spiderweb and do not go all the way through.
Cracks That Need Action Before Winter
- Horizontal cracks running along a block or poured wall. These point to soil pressure and need an evaluation.
- Stair-step cracks in block or brick that follow the mortar joints.
- Any crack wider than 1/4 inch or one you can slide a nickel into edgewise.
- Cracks leaking water or showing white mineral deposits, a sign water already moves through.
Mark the ends of each crack with a pencil and write the date. Measure the width. If a crack grows over two weeks, treat it as active.
A Simple Foundation Crack Repair Method for DIY Fixes
You can seal narrow, stable cracks in a poured concrete wall yourself. This works for non-structural cracks under 1/4 inch. Pick a dry day above 50°F for curing.
- Clean the crack. Use a wire brush and a shop vacuum to clear dust, loose concrete, and old sealant.
- Widen slightly if needed. A small chisel can open a V-groove that helps the filler grip.
- Apply the right filler. Use a polyurethane or epoxy injection kit for cracks that go through the wall. Use masonry caulk for shallow surface cracks.
- Inject from bottom to top. For a full-depth crack, work upward so the material fills the gap without trapping air.
- Smooth and cure. Tool the surface flat and let it set per the kit instructions, usually 24 to 48 hours.
Finish the outside too. Grade soil away from the wall and clear gutters so meltwater drains off, not down.
Products That Hold Up in Cold
Epoxy bonds hard and restores some strength, good for dry structural hairlines. Polyurethane stays flexible and handles the slight movement of freeze-thaw better for leaking cracks. For block walls, surface patching alone rarely lasts; the pressure returns each winter.
When to Stop and Call a Specialist
Some cracks signal movement no caulk will stop. Call a foundation contractor if you see any of the following.
- A horizontal crack with bowing or inward lean of the wall.
- Doors and windows that stick worse as the weather cools.
- A crack wider at the top than the bottom, or the reverse.
- Sloping floors or a visible gap between the wall and floor.
- Repeated water intrusion after you sealed the crack.
A contractor may recommend carbon-fiber straps, wall anchors, or piering. The point before winter is simple: get the water out and the movement controlled before ice makes it worse.
Winter Foundation Maintenance Checklist
Run this list in fall, ideally before the first freeze. Each step limits the water that feeds freeze-thaw damage.
- Walk the full perimeter and log every crack with a date and width.
- Seal stable cracks under 1/4 inch with polyurethane or epoxy.
- Clean gutters and extend downspouts at least four feet from the wall.
- Regrade soil so it slopes away six inches over the first ten feet.
- Check that the sump pump runs and the discharge line is clear.
- Insulate exposed pipes near foundation walls to avoid burst leaks.
- Book any structural evaluation now, before contractors fill up with winter emergencies.
Scheduling early matters. A basement flood after a January freeze costs far more than a fall inspection.
How to Choose a Foundation Repair Contractor
The right contractor fixes the cause, not just the crack. Use a directory to compare specialists in your area before the cold arrives.
On https://restorationlocator.com, you can narrow your search with these steps:
- Sort by location to find contractors who know your region’s soil and frost depth.
- Check reviews for comments about winter work and water intrusion fixes.
- Filter listings for foundation and waterproofing specialists, not general handymen.
- Compare providers side by side before you request an estimate.
Ask each contractor three questions: What caused this crack? Will the fix hold through a freeze-thaw winter? Is there a transferable warranty?
Key Takeaways
Identify cracks by width and direction, then seal stable ones before water can freeze inside them. Horizontal cracks, bowing walls, and growing gaps need a specialist, not a caulk gun. Acting in fall stops the freeze-thaw cycle from turning a minor flaw into a spring emergency.
Start your search today and compare vetted foundation and restoration contractors at https://restorationlocator.com.