
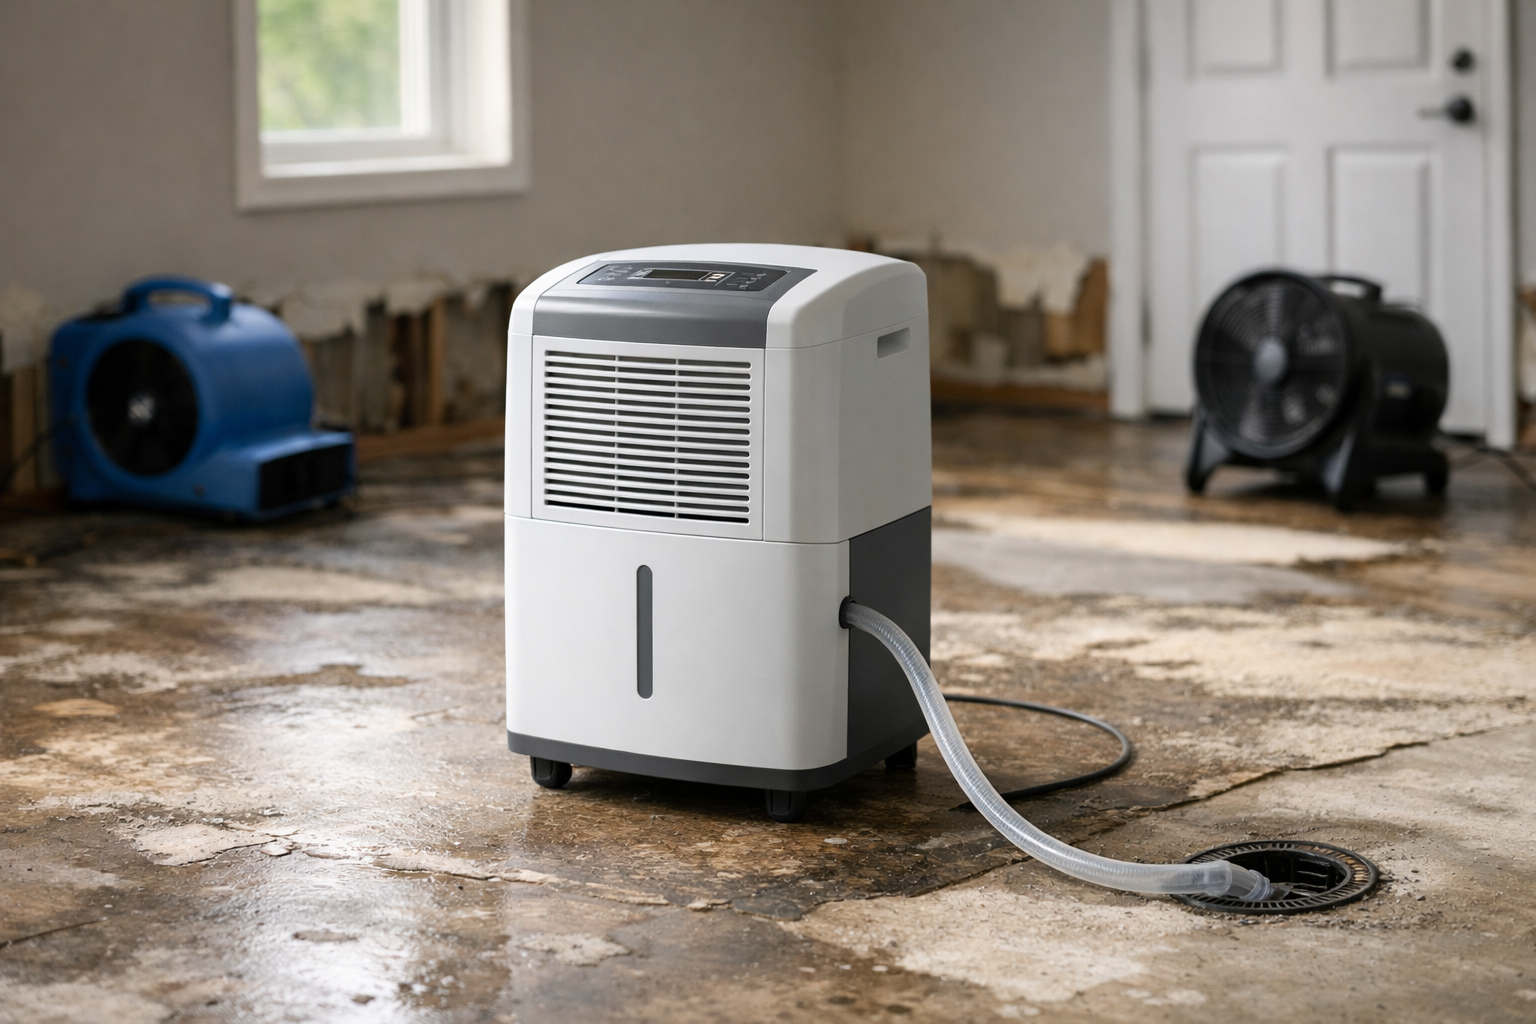
A dehumidifier pulling 30 pints of water a day means nothing if you place it wrong or run it against open windows. Proper dehumidifier use after a flood or pipe burst decides whether your drywall dries in three days or grows mold in seven. This post covers exact placement, sizing math, drainage setup, and the mistakes that waste days of drying time.
You will learn how to read moisture levels, position the unit for airflow, and pair it with fans for faster results. The focus here is efficiency: getting your space dry with the least wasted energy and time.
Why Dehumidifier Use Matters for Water Damage Recovery
A dehumidifier removes moisture from the air so wet materials release trapped water. During water damage recovery, air acts like a sponge. Dry air pulls moisture out of soaked wood, drywall, and carpet padding.
Without active air drying, moisture stays locked in materials. Mold begins colonizing wet gypsum board in 24 to 48 hours. Speed matters more than most people assume.
The goal: drop indoor relative humidity below 50% and hold it there until materials reach normal moisture content.
Step-by-Step Dehumidifier Setup After Flooding
Follow this sequence to get drying started within the first hour.
- Remove standing water first. A dehumidifier handles airborne moisture, not puddles. Extract water with a wet vac or pump before you plug in the unit.
- Close the room off. Shut windows, doors, and vents. An open window lets humid outdoor air undo your work, especially on a rainy day.
- Center the unit for airflow. Place it where air can circulate on all sides, not jammed against a wall or in a corner.
- Set the target humidity. Dial to 40–50% relative humidity if your unit has a humidistat.
- Add fans. Point air movers at wet walls and floors to push moisture into the air the dehumidifier collects.
- Set up continuous drainage. Run a hose to a floor drain so you skip emptying a full tank every few hours.
Sizing the Right Unit for the Space
Undersized units run nonstop and never catch up. A standard 30-pint household dehumidifier covers a damp 1,500 square foot area. A soaked basement after a sump failure needs far more.
For active water damage recovery, match capacity to saturation, not room size alone. General benchmarks:
- Light dampness (small leak): 30–50 pint unit for a single room.
- Wet carpet and pad: 50–70 pint unit per 500 square feet.
- Fully flooded room: a commercial LGR (low grain refrigerant) unit rated for restoration work.
LGR dehumidifiers pull moisture from air that consumer units cannot touch. Restoration crews run them because they work in cold, low-humidity conditions where household models stall.
Placement Rules That Speed Up Drying
Placement decides how fast the room dries. A well-sized unit in the wrong spot wastes hours.
Keep Intake and Exhaust Clear
The unit needs open space around its intake grille. Leave at least 12 inches of clearance on all sides. Blocked airflow drops collection rates by half in tight corners.
Elevate in Deep-Water Situations
Set the unit on a table or shelf in a basement with residual dampness. Warm, moist air rises. Positioning higher captures that air before it settles into upper walls.
Aim Fans, Not the Dehumidifier
The dehumidifier stays stationary and central. Fans do the moving. Angle air movers at 45 degrees along wet baseboards to create a rolling airflow pattern across surfaces.
Monitor Progress With a Moisture Meter
Guessing when drying is done leads to hidden mold. A pinless moisture meter reads moisture content inside drywall and wood without leaving holes.
Track two numbers daily:
- Relative humidity: aim for under 50% in the room air.
- Material moisture content: dry drywall reads around 12% or lower.
Log readings each morning. If numbers stop dropping for two days, you have a trapped moisture pocket behind a wall or under flooring. That signals a call for expert equipment.
Common Mistakes That Waste Days
These errors show up on nearly every DIY drying job we hear about.
- Running with windows open. Outdoor humidity floods back in and cancels the unit’s output.
- Emptying tanks too late. A full tank shuts the unit off, and hours pass with zero drying. Use continuous drainage.
- Skipping fans. A dehumidifier alone cannot pull water from a soaked carpet pad fast enough. Airflow moves that moisture to the machine.
- Stopping too early. Surfaces feel dry days before interior materials are. Verify with a meter before shutting down.
- Ignoring the filter. A clogged filter drops efficiency. Rinse it every few days during heavy runs.
When to Call a Restoration Company
A household dehumidifier handles minor leaks and small damp rooms. Some situations need commercial equipment and expert drying plans.
Call a restoration company if:
- Water sat for more than 48 hours before you started drying.
- The flood involved sewage or contaminated water.
- Moisture readings refuse to drop after several days.
- You smell mustiness, which points to mold already forming.
- Large areas of drywall, insulation, or subfloor stayed submerged.
Restoration crews use industrial LGR dehumidifiers, air movers, and thermal cameras to find hidden moisture. They document drying with daily readings for insurance claims.
Find the Right Provider on Restoration Locator
Use these filters on https://restorationlocator.com to shorten your search:
- Sort by location to find crews that can arrive same-day.
- Check reviews from past water damage jobs, not general handyman work.
- Filter listings by water damage and mold remediation specialty.
Key Takeaways
Effective dehumidifier use comes down to sizing correctly, sealing the room, pairing with fans, and verifying with a moisture meter. Continuous drainage and clear airflow keep the unit running at full output. Stop drying only when interior materials confirm they are dry, not when surfaces feel dry.
When water sat too long or readings stall, expert equipment finishes the job faster and protects your insurance claim. Browse Disaster Cleanup & Restoration listings now at https://restorationlocator.com to find a local provider.