
Freeze-thaw cycles crack paint faster than any summer sun. If you want to protect exterior paint before the first hard frost, the work starts in fall, not when peeling appears. Winter moisture seeps behind coatings, freezes, expands, and lifts paint off siding in sheets.
This post covers the exact steps that stop winter damage before it starts. You will find a pre-winter inspection checklist, moisture-sealing methods, and advice on when peeling signals a bigger repair.
Why Winter Wrecks Exterior Paint
Winter paint failure comes from water, not cold. Liquid water enters hairline cracks in your paint film, then freezes and expands roughly 9% in volume. That expansion pries the paint away from the wood or stucco underneath.
Three winter forces cause the most damage:
- Freeze-thaw cycling — repeated expansion and contraction loosens adhesion
- Ice dams — trapped snowmelt saturates fascia and soffit paint
- Wind-driven sleet — abrades north and west-facing walls hardest
North-facing walls stay wet longest because they get the least sun. Check those first when you inspect.
Inspect Your Exterior Before the First Freeze
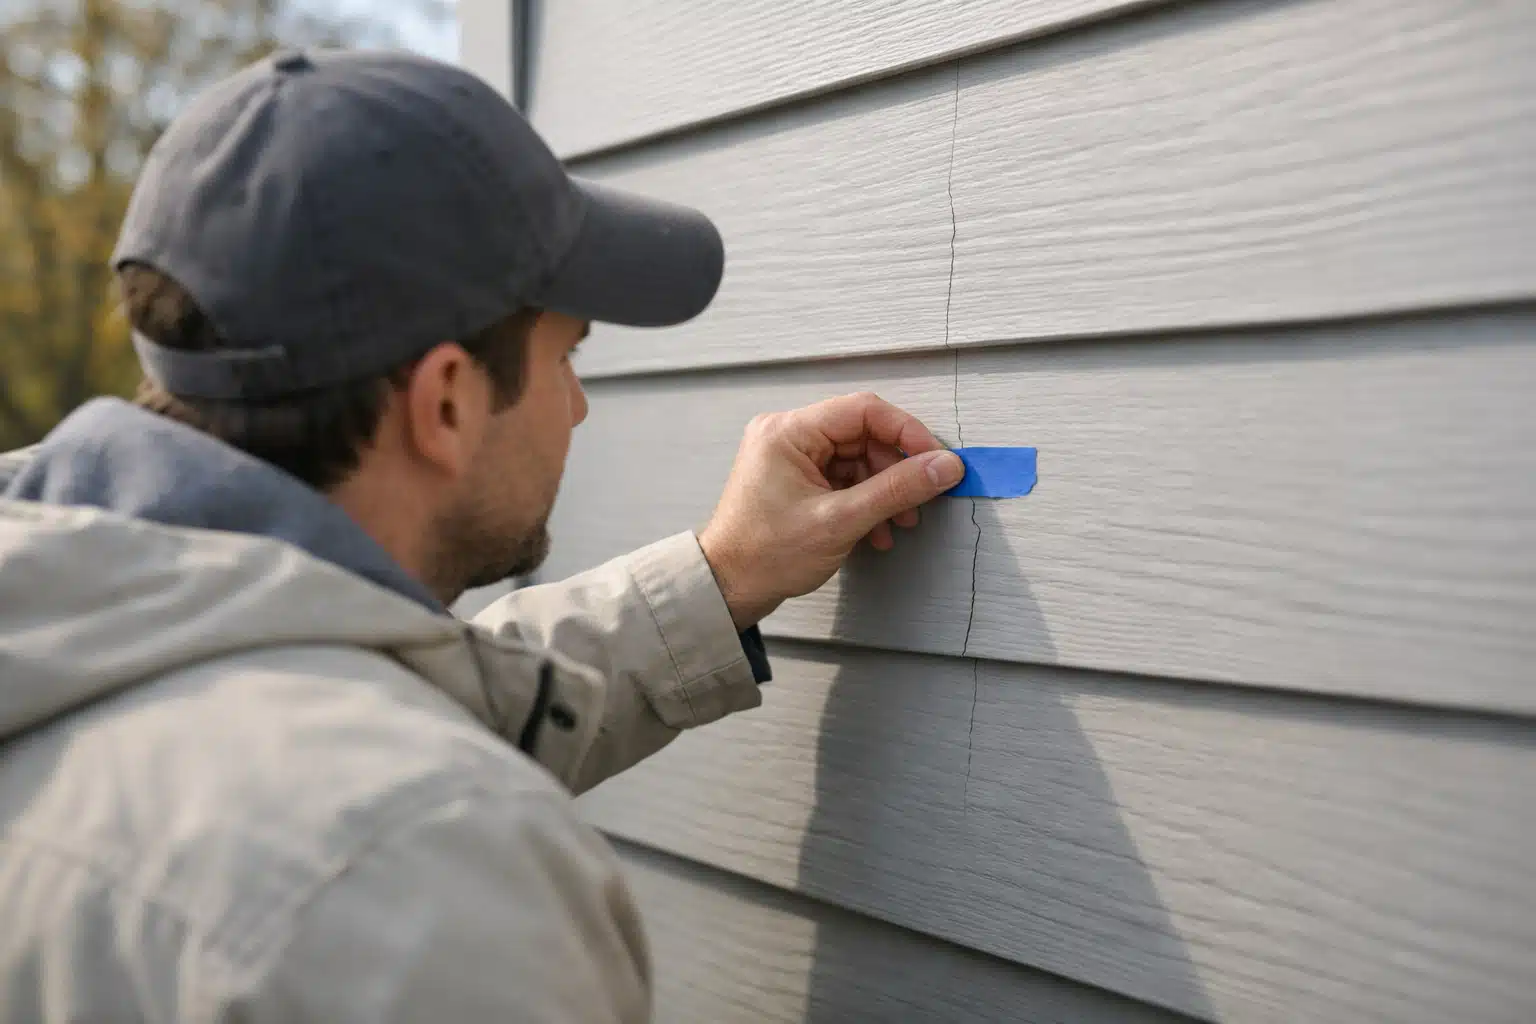
A fall inspection catches small failures before frost turns them into stripped siding. Walk your home’s perimeter on a dry day in October or early November. Mark problem spots with painter’s tape so you can find them again.
What to Look For
- Hairline cracks in the paint film, especially at board joints and window trim
- Bubbling or blistering, which means moisture is already trapped underneath
- Chalky residue on your hand after rubbing the surface — a sign the binder has broken down
- Caulk gaps around windows, doors, and where trim meets siding
- Bare wood at corners and bottom edges where paint wears first
Any bare wood left exposed will soak up winter moisture like a sponge. Spot-prime those areas immediately, even if a full repaint waits until spring.
Seal Moisture Entry Points for Winter Weatherproofing
Winter weatherproofing means closing every gap where water can reach the substrate behind your paint. Caulk is your main tool here. Use an exterior-grade elastomeric caulk rated for temperatures down to the low 40s during application.
Priority Sealing Zones
Focus your caulking on the joints that face the most water exposure:
- Window and door frames — the top and side seams, not the bottom weep gaps
- Trim-to-siding transitions where two materials meet
- Fascia and soffit seams near the roofline
- Penetrations for pipes, vents, and electrical fixtures
Never caulk the bottom edge of lap siding boards. Those gaps let trapped moisture drain out and dry. Sealing them traps water and accelerates rot.
Apply Paint Correctly When Temperatures Allow
Most latex exterior paints need surface temperatures above 50°F to cure properly. Painting below that threshold leaves a weak film that cracks by January. If you must paint late in the season, pick a cold-weather formulated acrylic rated to 35°F.
The Timing Window That Matters
Paint early in the day so the film can dry before overnight temperatures drop. A coat applied at 4 p.m. in late October may not cure before frost settles. That half-cured film peels within weeks.
Follow this sequence for any fall touch-up:
- Scrape and sand loose paint back to a sound edge
- Spot-prime all bare wood with an exterior oil or bonding primer
- Caulk gaps after primer dries, not before
- Apply topcoat when the forecast shows 48 hours above 50°F
Manage Snow and Ice After the First Storm
Paint damage continues all winter if snow piles against your walls. Shovel snow away from the base of siding after each storm. Snowbanks melt slowly against the house and keep the bottom two feet of paint saturated for weeks.
Clear your gutters before winter to stop ice dams. When gutters clog, meltwater backs up under the roof edge and soaks fascia paint from behind. That hidden moisture lifts paint you cannot even see failing.
Icicle Warning Signs
Large icicles along your eaves point to an ice dam forming above. The trapped water behind that dam ruins fascia and soffit paint every time. Address attic insulation and ventilation to stop the melt-refreeze pattern at its source.
When Winter Damage Signals a Bigger Problem
Peeling paint is sometimes a symptom of water intrusion inside the wall. If paint fails in the same vertical streak every winter, suspect a leak above it. Chronic blistering on one wall section usually means moisture is pushing out from behind.
Call a restoration specialist when you notice any of these:
- Soft or spongy wood under failing paint — early rot
- Interior stains on walls matching exterior paint failure
- Musty smells near affected exterior walls — possible hidden mold
- Repeated failure in the same spot after proper repainting
Water damage behind paint grows worse each freeze cycle. A specialist can locate the moisture source and dry the structure before the next winter repeats the cycle.
Find Restoration Help in Your Area
When winter moisture has already caused rot, mold, or structural water damage, directory filters help you match with the right specialist. On Restoration Locator, sort providers by location to find crews familiar with your regional winter conditions. Check reviews from homeowners who faced the same freeze-thaw damage you are dealing with.
Use these filters to narrow your search:
- Service type — water damage, mold remediation, or structural drying
- Location radius — find crews that know local climate patterns
- Customer reviews — read outcomes from similar winter damage cases
Conclusion
The best way to protect exterior paint from winter is to seal moisture out before the first freeze and clear snow and ice all season. Catch cracks, caulk gaps, and prime bare wood in fall, then watch for peeling that signals deeper water intrusion. When damage runs past the paint film into the structure, bring in a specialist fast.
Start your search for water damage and restoration specialists at https://restorationlocator.com today.